


The resonator delete modification offers enhanced sound and performance but carries safety risks, especially regarding braking systems. Before installation, conduct thorough research and consider professional help to avoid issues. Install required tools, securely lift and replace the resonator, test drive for optimal performance, and follow post-installation tips for maintenance, including alignment checks, leak inspections, cleaning, and lubrication.
“Transform your vehicle’s sound with a DIY Resonator Delete installation—a simple yet powerful modification. This guide offers a comprehensive step-by-step process, ensuring both safety and ease for car enthusiasts seeking enhanced performance.
We’ll first explore the benefits of resonator deletion, highlighting its impact on engine noise reduction. Then, we provide essential safety precautions to follow. The detailed installation guide includes tools and preparation tips, making the task accessible for all. Finally, discover post-installation tricks for optimal results and maintenance.”
- Understanding Resonator Delete: Benefits and Safety Precautions
- Step-by-Step Guide: Tools and Preparation Required
- Post-Installation Tips for Optimal Performance and Maintenance
Understanding Resonator Delete: Benefits and Safety Precautions
Understanding Resonator Delete: Benefits and Safety Precautions
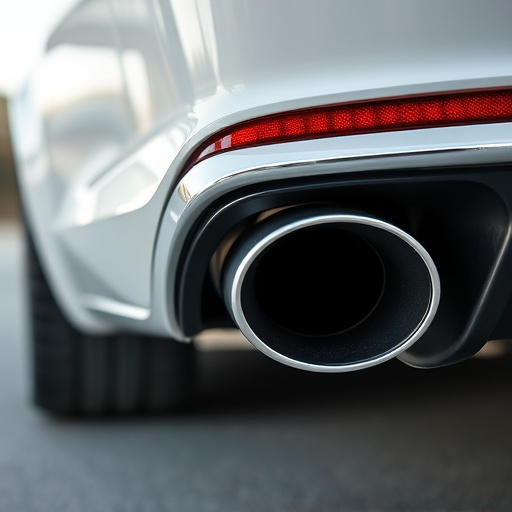
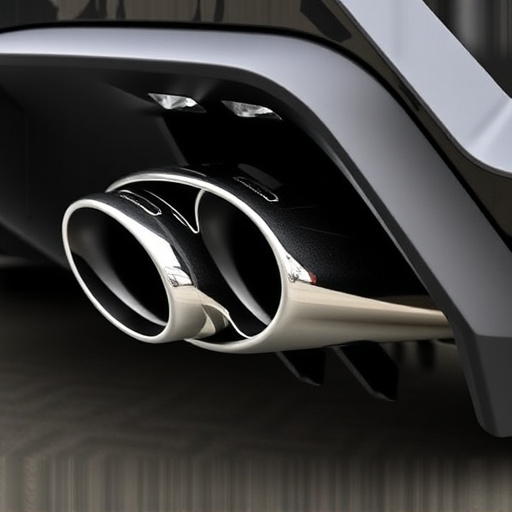
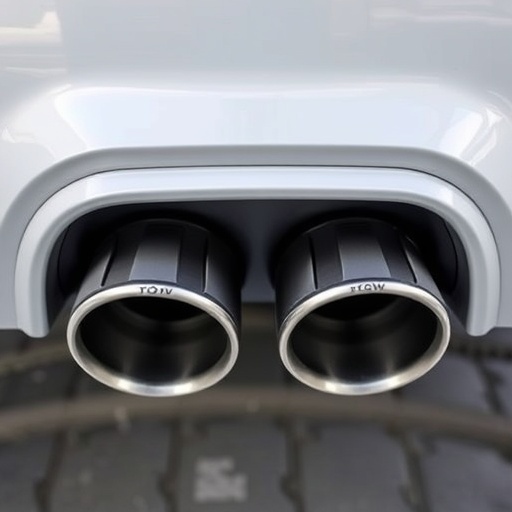
A resonator delete is a modification often sought by vehicle enthusiasts looking to enhance their driving experience, particularly in terms of sound and performance. This process involves removing or altering the resonator, a component within an exhaust system designed to reduce unwanted noise vibrations. By eliminating this part, drivers can expect a more aggressive, deeper exhaust note, which many find appealing. Moreover, it can improve the overall sound quality by allowing other exhaust components to perform without interference from the resonator.
However, it’s crucial to approach this modification with caution. Safety should always be a top priority when making such changes, especially concerning brake pads and brake components. Incorrectly installed or poorly designed resonator deletes could potentially impact braking performance by affecting air flow within the brake system. Furthermore, modifying exhaust systems, including resonators, may also void vehicle warranties. Therefore, it’s essential to thoroughly research and follow best practices, possibly consulting with professionals, before attempting a resonator delete installation.
Step-by-Step Guide: Tools and Preparation Required
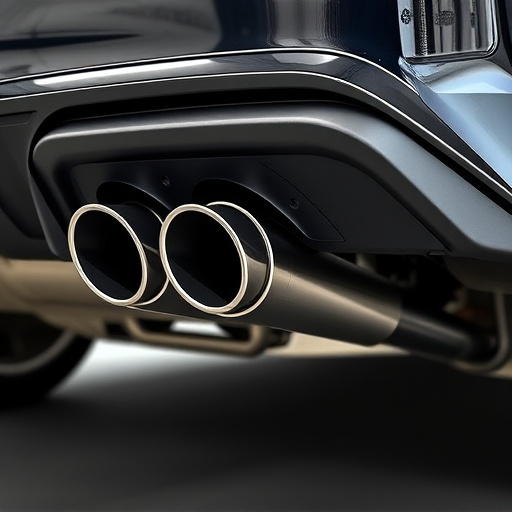
Before tackling a resonator delete installation, make sure to gather all necessary tools and materials. This DIY project requires basic automotive equipment such as wrenches, sockets, ratchets, and a set of pliers. Additionally, you’ll need a new resonator (choose one compatible with your vehicle), exhaust tips, and possibly muffler tips if your current system needs replacement. Stock up on high-quality gaskets and bolts to ensure a secure fit. For safety, wear protective gear, including gloves and eye protection, as you’ll be working with mechanical components.
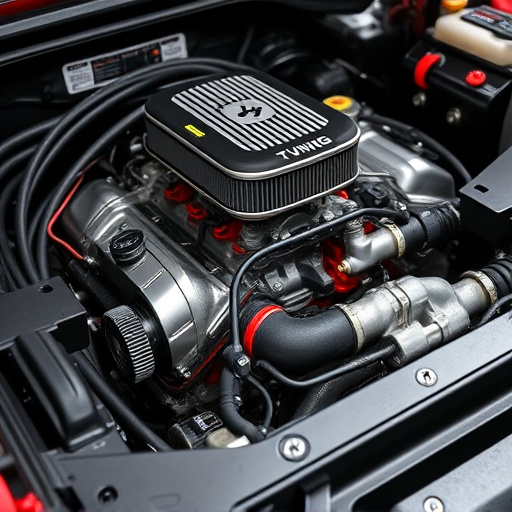
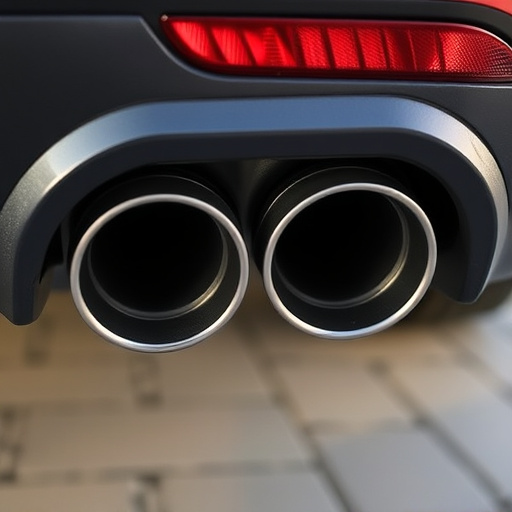
Start by lifting your vehicle securely on jack stands. Locate the resonator, usually found in the exhaust system near the engine. Carefully remove the old resonator by unbolting it from the exhaust tips or muffler tips, ensuring that no gaskets are damaged. Clean the area thoroughly to eliminate any debris or remains of the previous resonator. Install the new resonator, aligning it precisely and securing it with fresh gaskets and bolts. Once the new resonator is in place, lower your vehicle from the jack stands and test-drive it to ensure optimal performance and noise reduction benefits from this resonator delete installation.
Post-Installation Tips for Optimal Performance and Maintenance
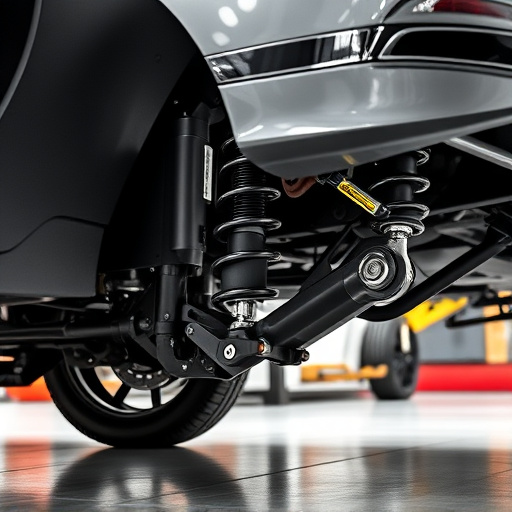
After successfully installing your resonator delete, it’s crucial to implement some post-installation tips for optimal performance and maintenance. First, ensure proper alignment of the modified exhaust system components. Any misalignment could lead to vibrations and potential damage to other parts, such as exhaust mufflers or brake rotors. Regularly inspect the installation area for any signs of leaks, especially around connections, as this can affect both engine performance and environmental emissions.
Additionally, maintain a clean and well-lubricated system. Remove debris and dirt that might accumulate in the modified area to prevent obstructions. Keep exhaust systems free from buildup to ensure smooth gas flow. Regular lubrication of moving parts, while not always necessary for resonator deletes, can help reduce friction and prolong the life of your vehicle’s exhaust components, including mufflers and rotors.
A DIY resonator delete can significantly enhance your vehicle’s performance while improving fuel efficiency. By removing the resonator, you reduce backpressure in the exhaust system, allowing for smoother gas flow and more powerful engine output. However, it’s crucial to follow safety precautions and proper installation techniques, as outlined in this guide. After installation, regular maintenance and optimal driving practices will ensure your vehicle continues to benefit from this modification, maximizing both performance and efficiency.