


A resonator delete is a car modification that enhances exhaust sound and optimizes gas flow, popular among enthusiasts for its aggressive yet legal performance gains. Before installing, equip a toolkit with automotive tools, gaskets, seals, and high-quality materials. The process involves removing the factory resonator near the engine bay, disconnecting it, and installing an aftermarket kit with a larger air filter to improve airflow and horsepower.
Looking to enhance your vehicle’s performance with a DIY resonator delete? This comprehensive guide is your perfect companion. We’ll walk you through the process, from understanding the basics of resonator delete to equipping you with the essential tools and materials. By following our step-by-step instructions, you’ll safely and effortlessly install the change, unlocking your car’s full potential without compromising safety. Get ready to embrace the power of a resonator delete!
- Understanding Resonator Delete: The Basics Explained
- Tools and Materials Needed for a Successful Installation
- Step-by-Step Guide: Safe and Easy Resonator Delete Process
Understanding Resonator Delete: The Basics Explained
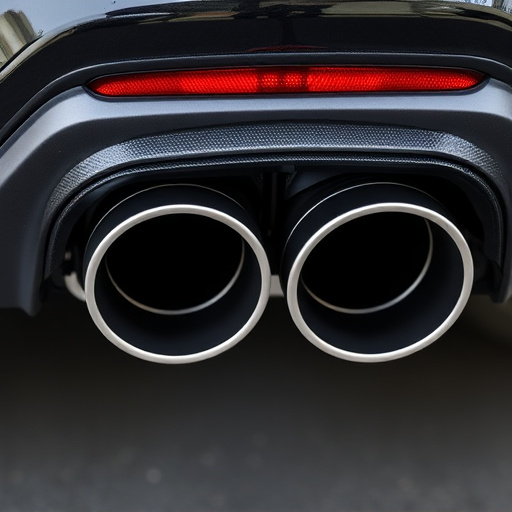
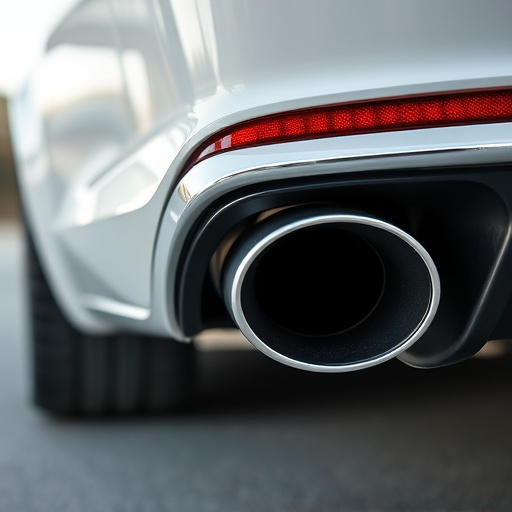
A resonator delete is a modification that involves removing or altering a vehicle’s resonator, an acoustic chamber designed to reduce unwanted noise emissions from the exhaust system. This simple yet effective upgrade is popular among car enthusiasts who seek a more aggressive and sporty sound from their vehicles. By eliminating the resonator, the exhaust note becomes deeper, more robust, and often times louder, enhancing the driving experience.
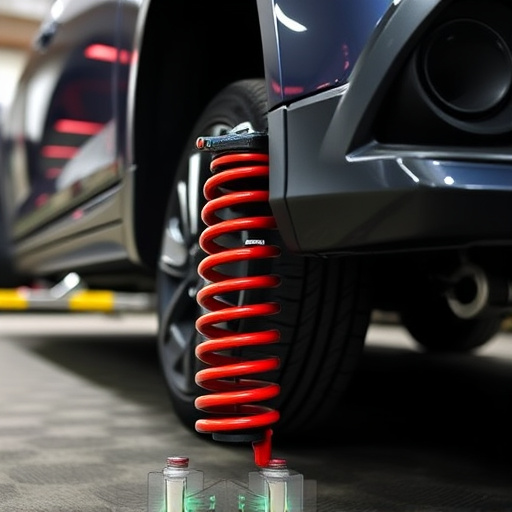
This modification is not just about achieving a better-sounding exhaust; it also allows for improved performance in certain cases. Resonators can restrict the flow of gases, especially at higher RPMs, so removing them can optimize the overall efficiency of your vehicle’s exhaust system. This change is particularly appealing to those who want to enhance their car’s sound without making drastic modifications that could affect daily drivability and road legality, focusing instead on the more subtle yet noticeable upgrade that a resonator delete provides, often in conjunction with other suspension components or muffler tips.
Tools and Materials Needed for a Successful Installation
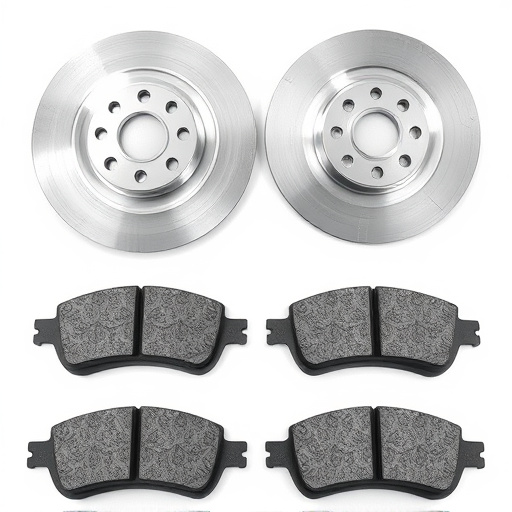
Before beginning your DIY resonator delete installation, gather all the necessary tools and materials to ensure a smooth and successful process. This project requires specific items to achieve a secure fitment while avoiding any potential hazards. For a safe resonator delete, you’ll need basic automotive tools such as socket sets, wrenches (both open-end and adjustable), pliers, and a sturdy jack for lifting the vehicle if necessary. Additionally, consider having replacement gaskets and seals on hand to address any unforeseen issues with the existing parts.
Among the materials, you’ll require thread sealer or grease to ensure proper sealing of new components like muffler tips or intake components. It’s crucial to use high-quality, automotive-grade products to maintain your vehicle’s performance and safety standards. Remember, a thorough understanding of brake and intake components is beneficial as these will be affected by the removal of the resonator, allowing for a seamless upgrade with minimal complications.
Step-by-Step Guide: Safe and Easy Resonator Delete Process

The process of resonator delete is a popular modification among car enthusiasts looking to enhance their vehicle’s performance and sound. This DIY guide will walk you through a safe and straightforward method, ensuring your project is accomplished with minimal hassle. Begin by identifying the resonator, typically located in the exhaust system, close to the engine bay. Next, gather the necessary tools, including a wrench set suitable for your vehicle, a jack, and safety gear.
Step-by-step, you’ll first need to locate and secure the jack points on your car, ensuring stability during the process. Remove the factory exhaust system components, starting with the resonator. Be cautious of any surrounding suspension or intake components that might be in the way. Once the resonator is accessible, carefully disconnect it from the exhaust pipes using the appropriate tools. Install an aftermarket resonator delete kit, which often includes a new, larger air filter to compensate for the changed airflow. Ensure proper alignment and secure the new setup. Test your vehicle’s performance and enjoy the enhanced sound, along with potential gains in horsepower due to improved air flow through the intake components.
Resonator delete is a straightforward and cost-effective modification that can significantly enhance your vehicle’s performance. By eliminating the resonator, you reduce backpressure in the exhaust system, allowing for smoother gas flow and improved engine efficiency. Following this DIY guide ensures a safe and easy installation process, empowering car enthusiasts to take control of their vehicle’s tuning. With the right tools and a step-by-step approach, you can achieve optimal results without compromising safety.